
This tutorial describes how to compose a workflow using a simple math example. For how to install/start the XBaya, please go to Running the XBaya.
The main window consists of several panels. The "Composer" panel is the place where you can compose a workflow graphically. The "Component List" panel shows the list of components that we can select add to the composing workflow. The "Component Information" panel shows the information of a component selected either in the Component List panel or in the Compose panel. The "Port Information" panel shows the information of ports (input/output of a component).

First, we make a very simple workflow that consists of one Adder component. The adder component takes two input parameters, adds them, and outputs the result.
First we add an Adder component to the workflow. To add a component, you need to find a component from the Component List panel. The Adder component registered under the local directory (shown as
.\wsdlsor something similar). (The XBaya supports several different types of component registries as described in Web Service registries, but the resource catalog is the one that LEAD related components are registered.) When you select a service, the information of the service is displayed in the Component Information panel.
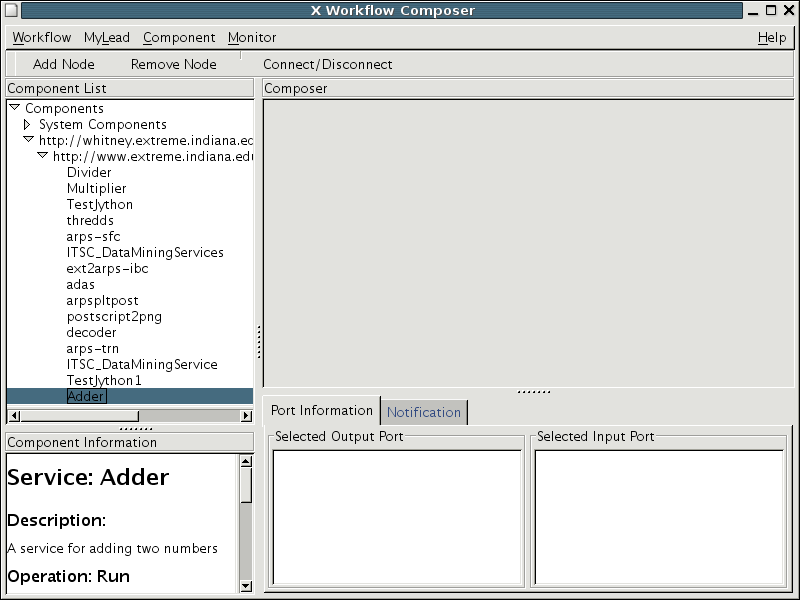
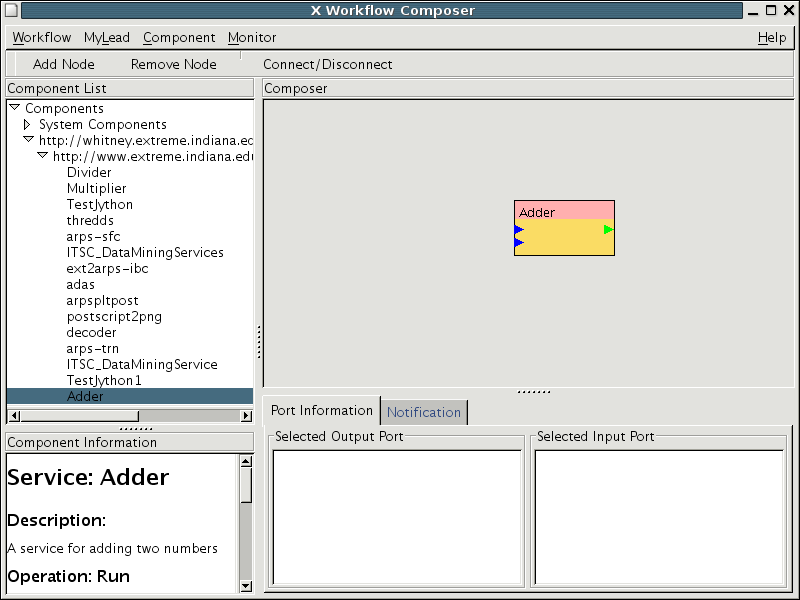
To add the Adder component to the workflow, you can simply drag-and-drop the component from the Component List panel to the place where you want to add the component in the Composer panel. Alternatively, you can use "Add Node" button to add the selected component.
To adjust the position of the component, you can drag the top part of the component. To remove a component from a workflow, you can type "Delete" key of your keyboard, click "Remove Node" button, or right click on the top part of the component and select "Delete" from the pop-up menu.
The blue triangle(s) on left side of a component indicate the input ports and the green triangle(s) on the right side indicate the output ports. Here, the Adder component has two inputs and one output.
The next step is to add special components to indicate the input parameters of the workflow.
As before, select the Input component from the Component List panel. The Input component is under "System Components".
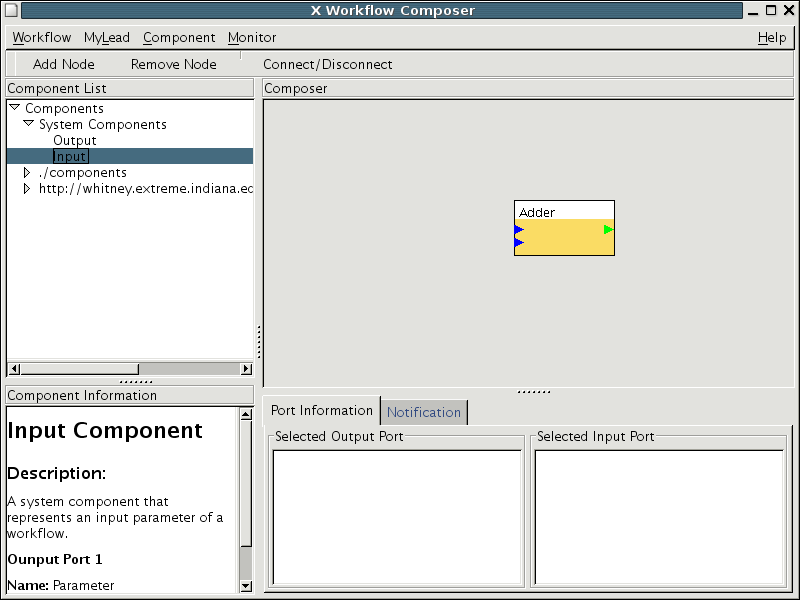
Then, drag and drop the Input component to the Composer panel.
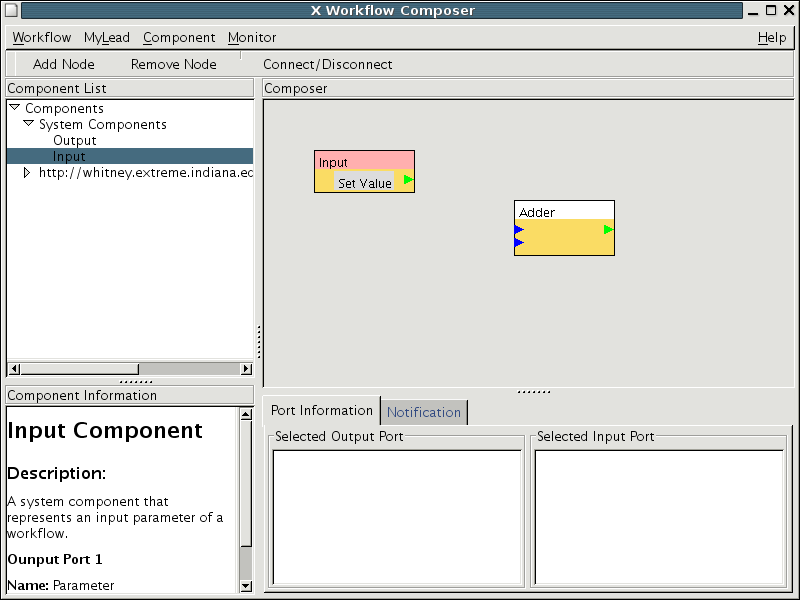
Next, you need to connect the Input component to one of the input ports of the Adder component. To connect two ports, you can push a mouse button on one port (triangle at the side of a component), drag the mouse to other port, and release the mouse.
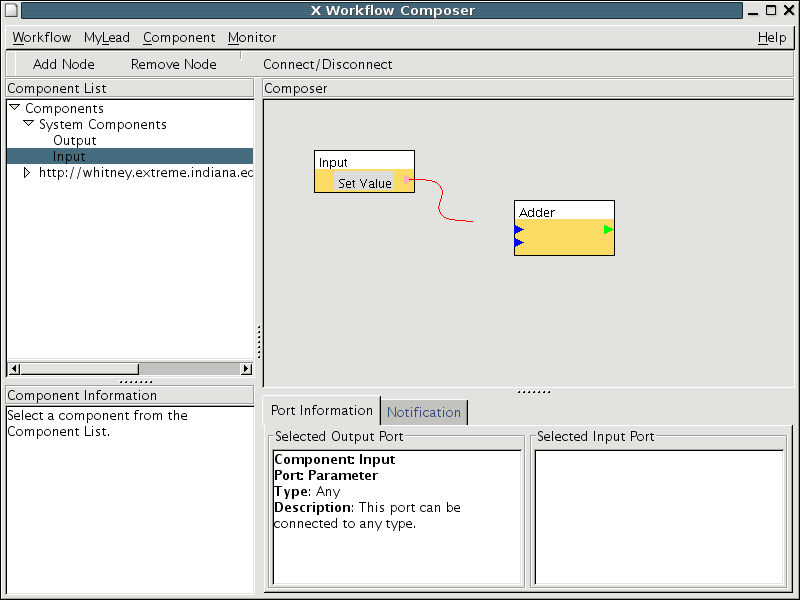
The information of the ports are displayed in the Port Information panel. When you connect the Input component to other component, the name of the Input component is changed to the name of the input port.
Alternatively, you can select both ports by clicking the triangles, and click "Connect / Disconnect" button.
To remove the connection, you can right click on the circle in the middle of the connection, then either push "Delete" key on your keyboard or click "Connect / Disconnect" button. You can also remove the connection from the pop-up menu by right-click on the circle.
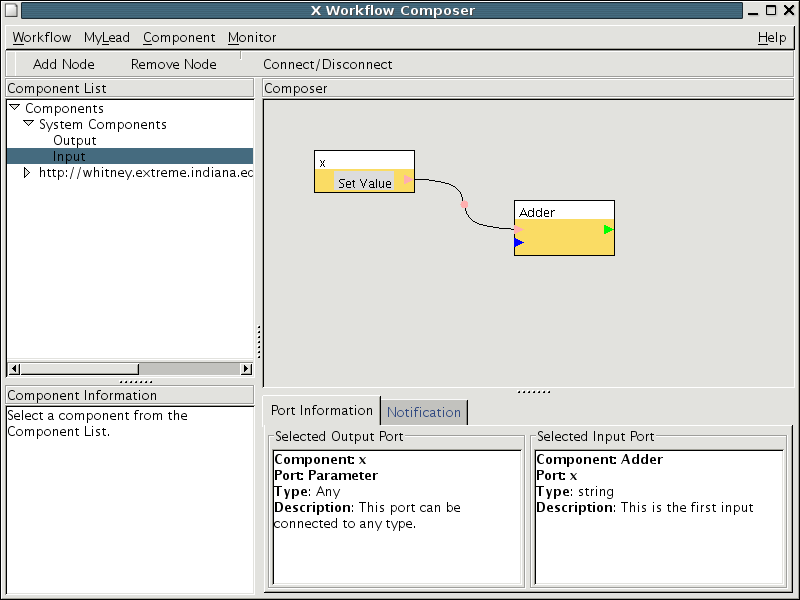
Optionally, you can set the default value of the input by clicking the part of the Input component that is labeled as "Set Value". If you omit to give the input parameter when launching the workflow script, the value set here will be used. (Currently, the default value set here is not used when you launch the workflow from the LEAD portal. Also, the input parameters to the Adder component should be numbers, but currently the service generated by Generic Factory Toolkit can have only string type.)
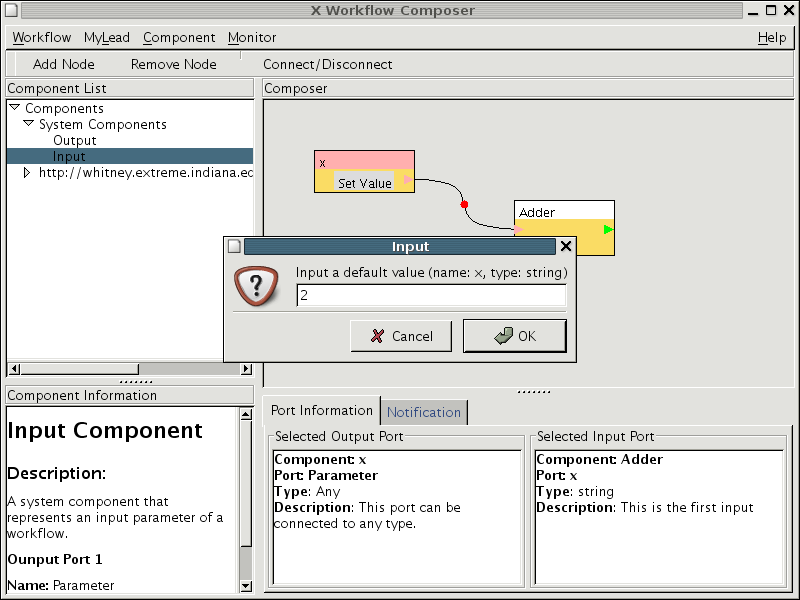
In the same way, you can add one more Input component and connect it to the second input port of the Adder component.
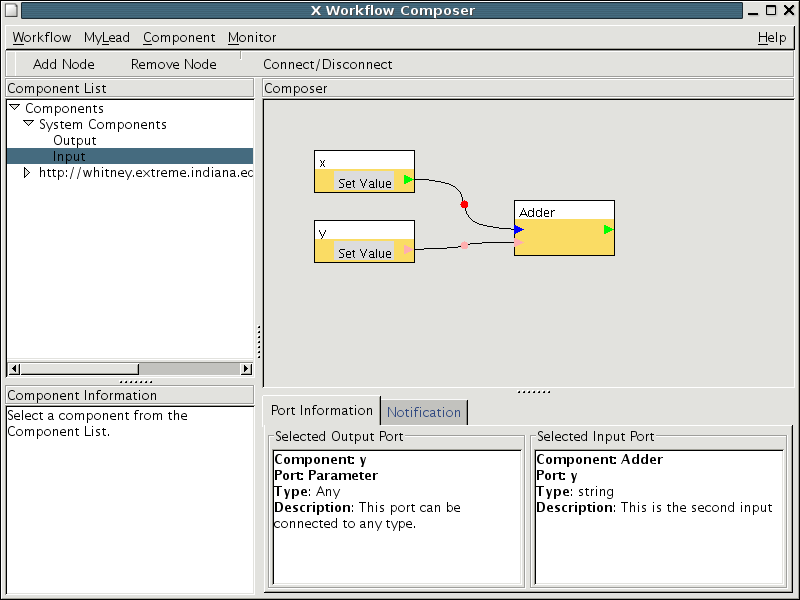
Now, you need to add an Output component to the workflow. Output parameters are actually not required to compose a workflow, but there are some merit of specifying output parameters explicitly. For example, when you run the workflow script, the script displays the output you are interested in more suitable format. (Future work: Also, it becomes possible to include the workflow as a component into another workflow.) To add an Output component the workflow, drag-and-drop the Output component from the Component List panel to the Composer panel. Then, connect it to the output port (the triangle on the right side) of the Adder component.
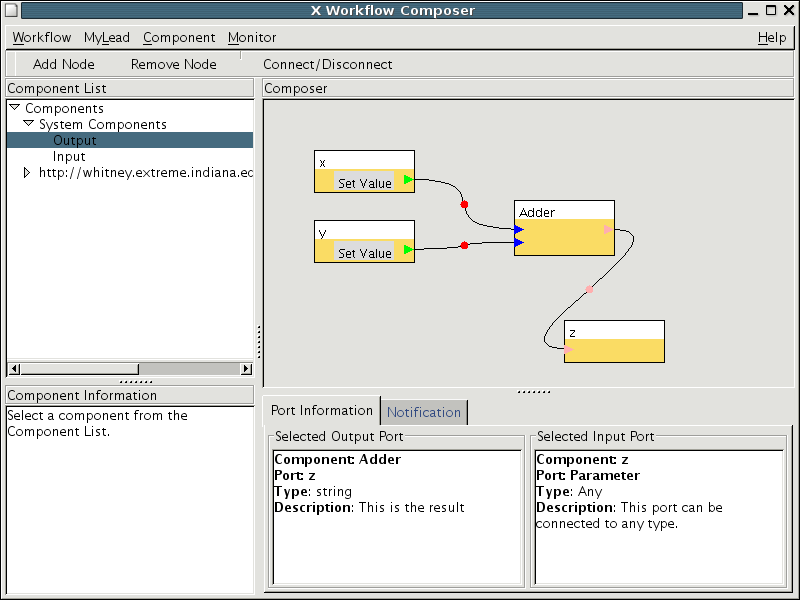
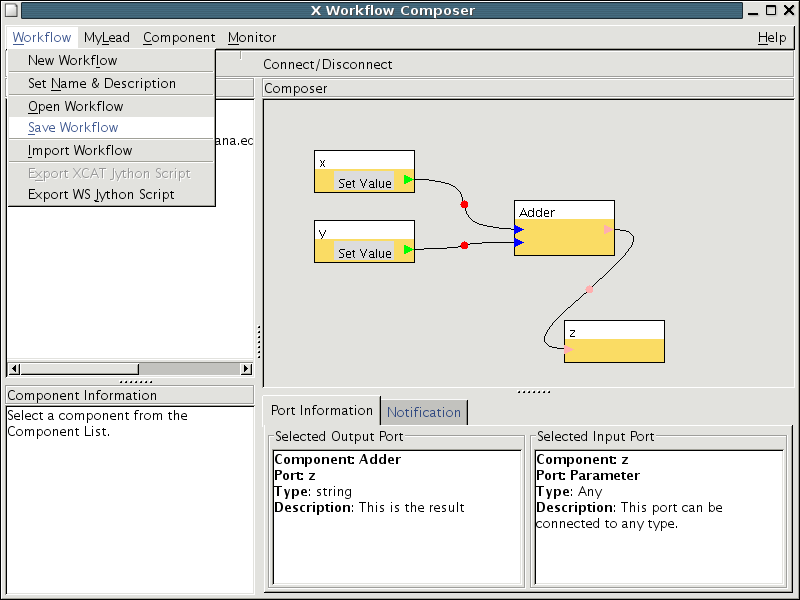
You can save the workflow so that you can modify in the later. To save it as a local file, select "Save Workflow" from "Workflow" menu. You can always open the locally-saved workflows by selecting "Open Workflow".
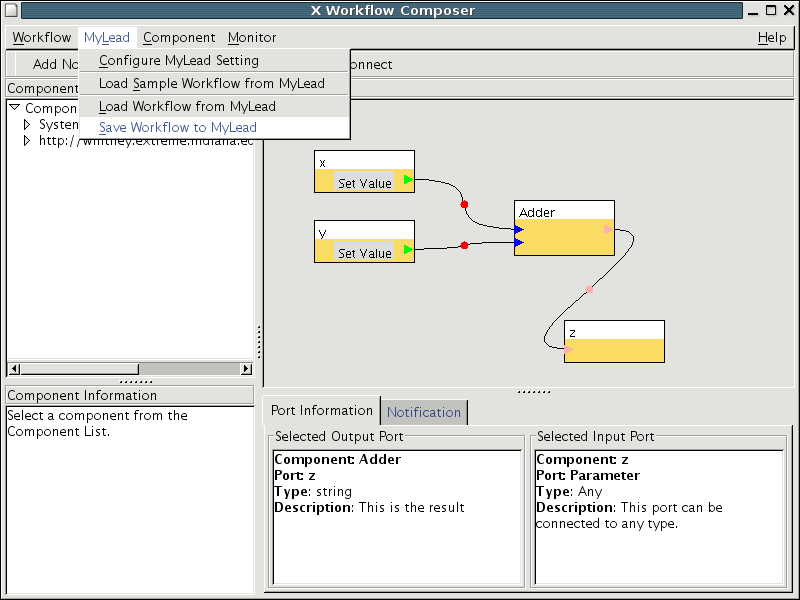
When you complete your workflow, you can save it to myLead. If you launch the XWF Composer from the LEAD portal, your information to connect to myLead, such as user ID, project name, etc. is configured properly, you just need to select "Save Workflow to MyLead" under "MyLead" menu.
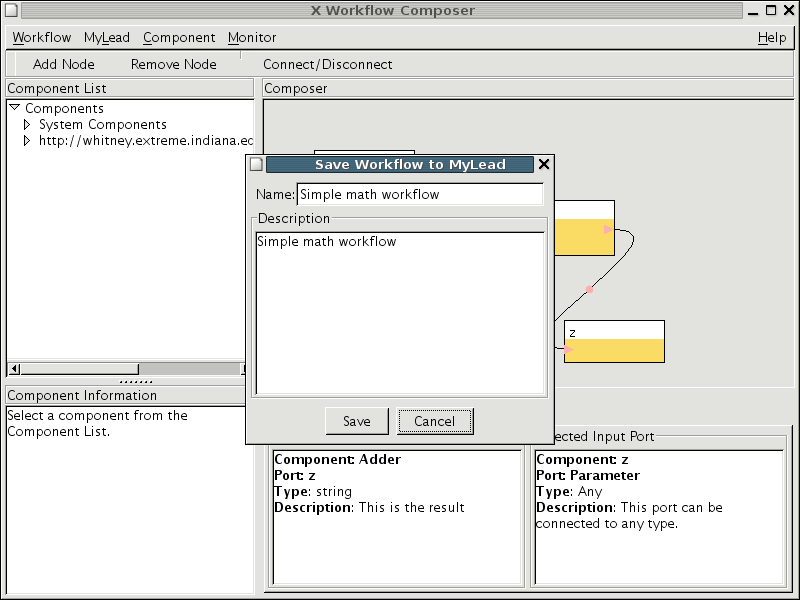
Then, you need to add the name and description of the workflow, and click "OK".
You can export the workflow as a Jython script. To do that, select "Workflow" from the menu, and "Export WS Jython Script".
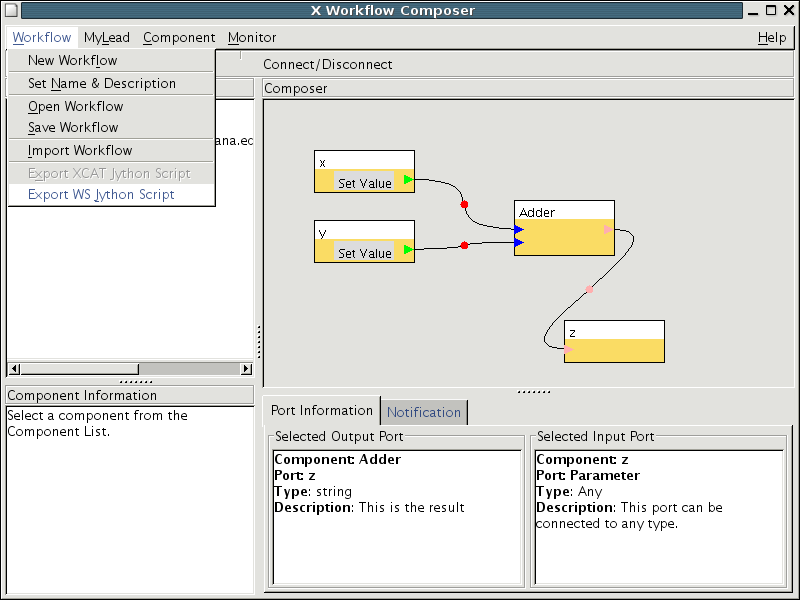
Now, we create a more complicated workflow. As before, add components and connect them as shown below.
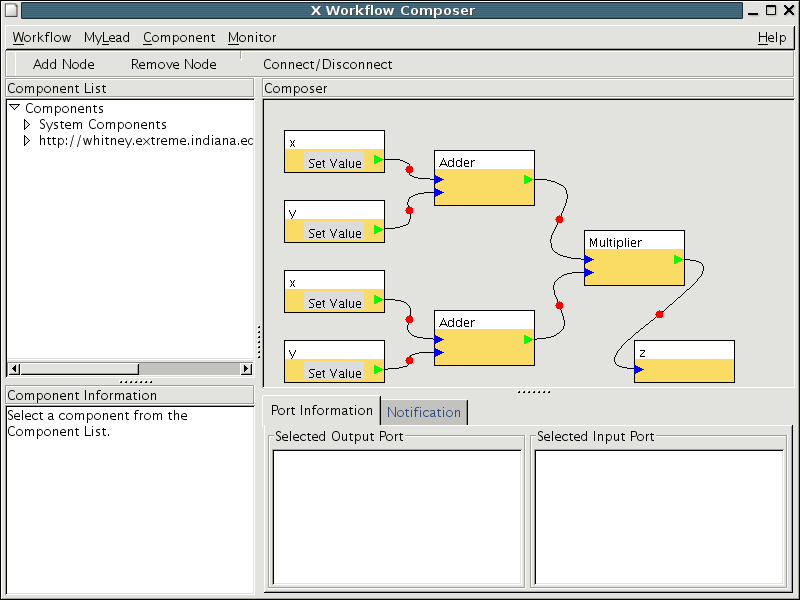
Unlike the previous example, outputs of Adder components are the input of the Multiplier component. As before, save the workflow and export it as a Jython script from the menu.
To understand how the worlflow Jython script work, go to Interpreting workflow scripts. To learn how to run the workflow script, go to Running workflows.