If you downloaded the binary distribution of Batik, you should have
gotten a file called batik-1.0beta.zip, and, after expanding that
file, a JAR (Java ARchive) file called batik-rasterizer.jar.
To start the rasterizer, open a console, go to the directory where you
expanded the distribution (and where batik-rasterizer.jar is located) and
simply type the following at the command prompt :
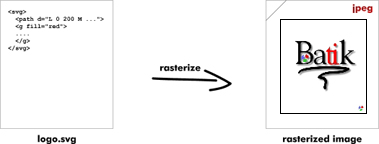
java -jar batik-rasterizer.jar [@files]
For example, if you type:
java -jar batik-rasterizer.jar samples/batikFX.svg
you will see the following printout:
Converting file:samples/batikFX.svg to ./samples/batikFX.png
Once the conversion is complete, you will find a batikFX.png file in the samples
directory
You can pass options to the command line:
java -jar batik-rasterizer.jar [-d <directory>] [-m <mimeType>] [@files]
Where:
- -d <directory> lets you select the directory where the raster files will
be generated.
- -m <mimeType> lets you select the mime type corresponding to the desired
raster format for the generated images. Currently, the tool supports image/jpg and
image/png. The default value is image/png
For example:
- java -jar batik-rasterizer.jar -d myDir -m image/jpg samples\*.svg will generate JPEG images
for all the SVG files found in the samples directory.